
Hey, welcome to my blog. If you are looking How to start a WordPress Blog on Bluehost then you are in the right place to start your blog right now.
And within the next 10 minutes, you will have your own professional blog on Bluehost using WordPress CMS.
In this post I’ll share with you…
So, that’s all about this post. Is this very straight forward? Yes I know that. Because I don’t want to include a bunch of information to make you confused.
Because I’d like to help you at least start your blog right away. After that, you will see so many other helpful and informative articles on this blog that will take your blog to the next level.
You can also bookmark this post Must have WordPress Plugins for Bloggers. At this end of this it will be helpful for you.
So, without wasting any time lets get started.
Choose a Perfect Domain Name
It’s very important to choose a perfect domain name for your blog.
So that people can easily remember your blog name. And remember this is your brand and people will remember you.
But don’t overthink about this. If you are thinking continuously then you will be getting more confused.
Remember one thing, that the brand doesn’t create by choosing a perfect domain. But it gets build over time. Even if you feel stuck somewhere, just keep moving.
So, I think you already know what is domain name and what is hosting. 🙂 that’s why you landed on this post.
However, if you are curious to know more about how to choose a perfect domain name for your blog then I highly recommend you to follow this article 7 easy steps to choose a perfect domain name for your blog.
But here is a quick steps for you that you can follow as well.
- Always try to choose a .com extension domain.
- Avoid using numbers and hyphens.
- Try to keep it short as much as possible.
- The domain name should be easy and understandable.
- Try to avoid complicated word.
The final and easy tips for you…
If you still struggling to choose the best name for your blog then I’d say start with your own name. With some prefix or suffix that would be easier for you.
So, now it’s time to move to the next point.
How to get a Free Domain Name From Bluehost?
Well, the great thing is the Bluehost is offering a free domain name for GoodlyWP readers with a 60% discount on their Hosting.
If you are in a hurry and already choose your domain name for your blog then you can check it right now whether it’s available or not.
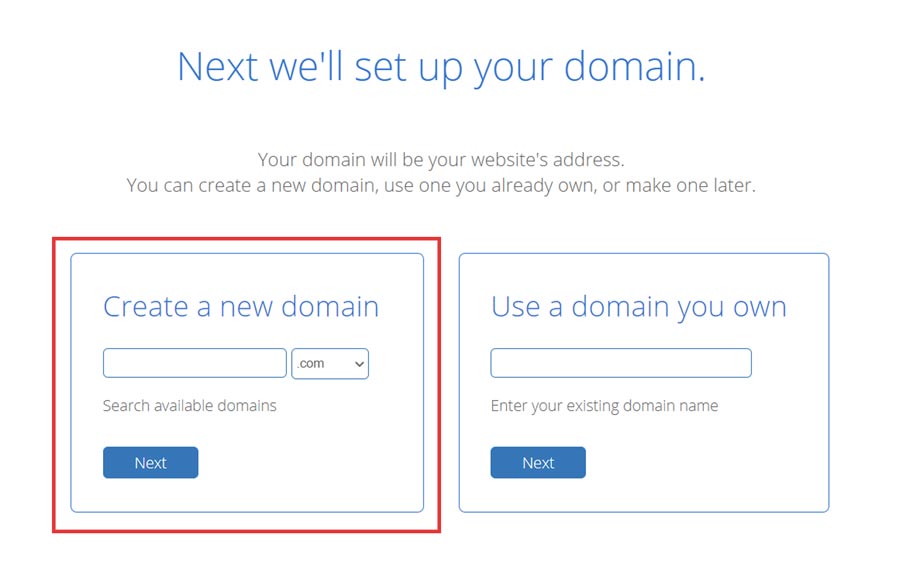
You can simply put your selected domain name in the input field and select the proper extension .com .net or anything but I prefer to choose .com for your blog website.
Here is the domain availability checker for you…
After putting your domain name in the input field click on the Check Availability and then you will see whether it’s available or not.
You can keep try until you will get the potential domain name for your blog. And keep brainstorming for generating more idea.
When you will get the preferred domain name available for your blog name then just click on Next to automatically add the domain name to your cart.
Note: Do not buy it right now. Because you have to purchase and connect your hosting with your domain name.
I’ll show you here all the steps
How to purchase Hosting from Bluehost?
Now it’s time to make your blog website live.
It’s not a complicated thing just follow the easy simple steps that I have shown here.
You have already heard that Bluehost is offering a 60% discount for GoodlyWP readers. It’s a great opportunity for new bloggers and my visitor.
So, to claim your discount simply click here. or you can simply click on below button.
Now you have landed over the Bluehost.com it’s time to click on Get Started Now

On the next page, you will see four different plans. For your starter blog website I’d suggest you choose the Basic plan. It includes everything which is related to maintain and start a WordPress Blog professionally.
Note: If you want more space and include another blog or official website on your hosting then you can easily upgrade them anytime.
So, you don’t have to worry about the upgradation.

After click on the select button now it’s time to add your selected domain name with your hosting plan.
So, if you follow the above step from the beginning then you already know what is your domain name.
Now type your domain name into the below box on the left side and make sure you have selected the preferred .com extension from the dropdown list for your blog.
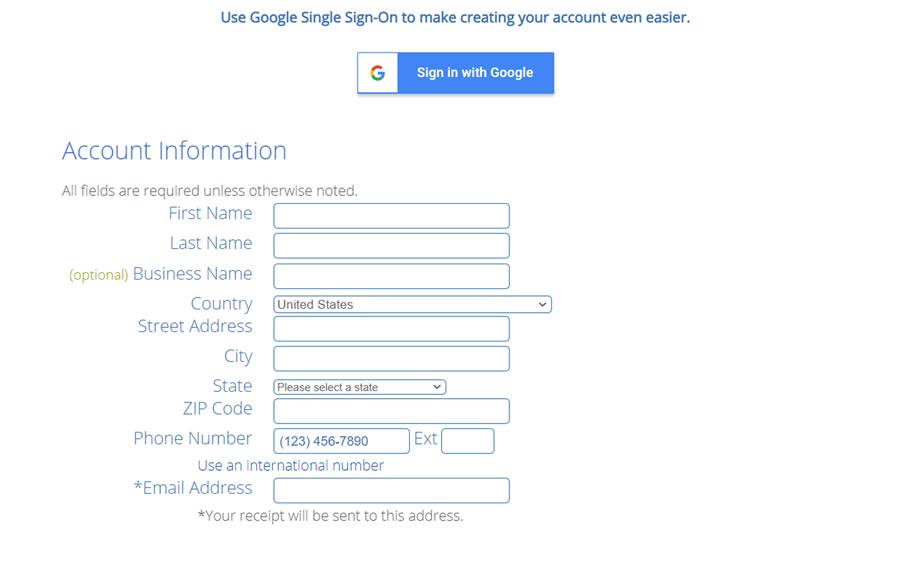
Then click on Next on the next page you have to register for your Bluehost account and add your payment method.
For a quick solution you can simply choose the Sign in with Google option.
However, if you don’t want to use your google account, then no worry, you can manually put all the information into the below form.
Now after fillup the account information it’s time to scroll down and navigate to the Package Information for the best deal you can choose the 36-month registration plan.

However, you can also choose 24 months or 12-month packages. But blogging is a long-term process that’s why I always go with the 36-month plan. Because initially, you will get the best deal with the 36-month package.
Bluehost Extra Features…
Now Bluehost offers few Extra features which you can keep with your hosting or you can exclude them from your hosting.
Because all of those are not necessary at the beginning. However, I personally recommend a few of them.
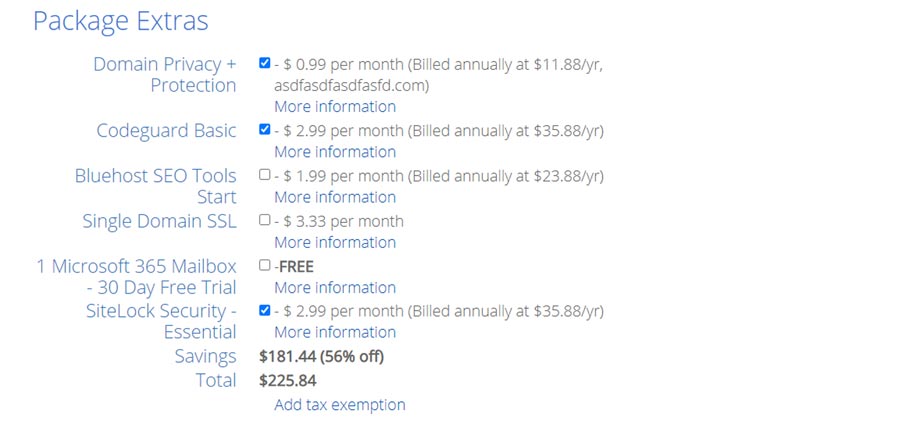
Let me describe the package extras here step by step so that you can select the perfect one for your blog.
- Domain Privacy + Protection: It will help you keep your personal contact information hidden from the public and replace it with Bluehost Business Information.
I highly recommend this for your privacy. - Codeguard Basic: It’s a daily backup plan for your blog. I think it’s unnecessary because there are lots of free plugins for WordPress that you can configure for daily backup of your website.
- Bluehost SEO Tools: This is really not necessary because there are so many free better SEO tools that you can use for your blog.
- Single Domain SSL: SSL is very important. You must enable this. But luckily, Bluehost now provides Free SSL for all their domain name. Here you can see how to configure Bluehost free SSL?
- Microsoft 365 Mailbox: This is completely free, and you can try this for creating your official email address. But I personally recommend you to chose Google Workspace instead of this.
- SiteLock Security: This will help you to protect your website from malware. However, there a better free WordPress plugin that you can use on your blog.
A quick recap from the Bluehost Extra features, Domain Privacy and Protection is only extra package that you have to use from their offer.
Again it will help you to keep your phone number, Home address, and email address private from the internet.
So, make sure you uncheck all the boxes from the Extra features. Only keep the privacy + protection.
You are almost there…
Just one more thing you have to enter your Payment Information properly into the payment form.
Then check the privacy box and click on Submit button.
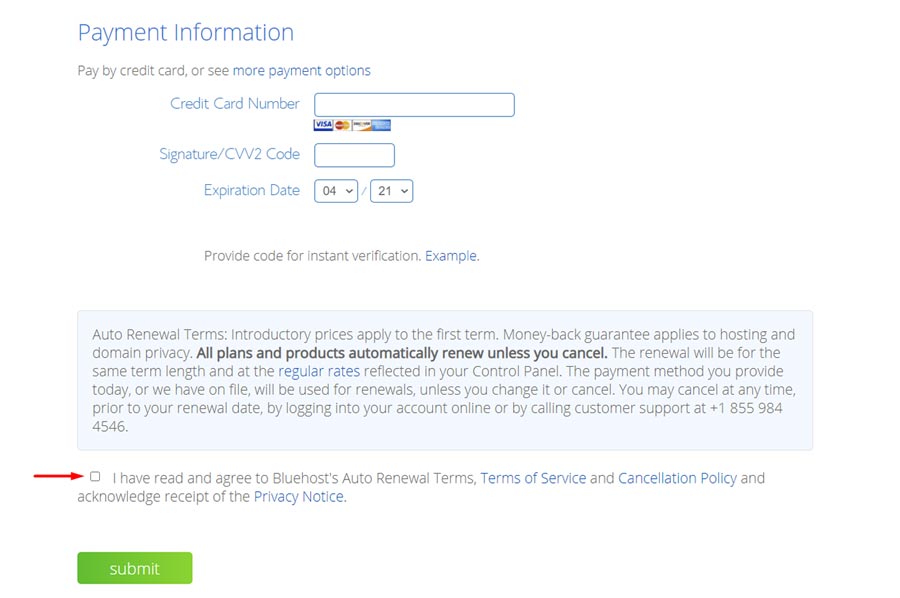
Now you are done!
Congratulations you have successfully purchase your Domain and Hosting from Bluehost for your new blog.
Now, in the next step I’ll show you..
How to Install WordPress on Bluehost?
Hey, these are probably the most interesting steps that you are waiting for to see your website live. If you want to install your WordPress blog on Bluehost right now then continue reading this section.
Bluehost makes it easy for you to install WordPress in just a few clicks. I’d say it just takes exactly five clicks! and 4 steps.
Here how it works…
After you completed all the above steps you should receive an email with your Bluehost account information.
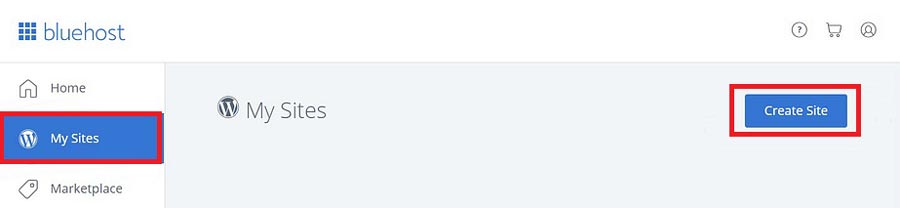
Step 1: Log in to your Bluehost account
After that click on My Sites Tab then click to the next tab Create Site
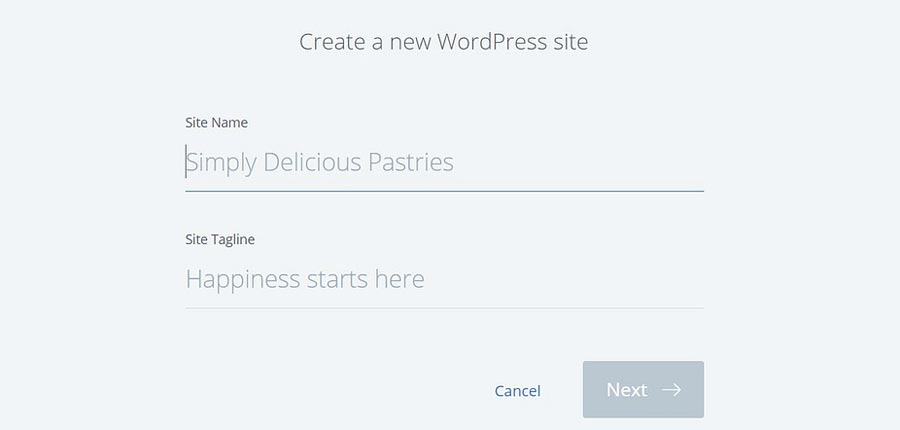
Step 2: Enter your Website Information
In this step, you have to enter your website information. Those are just some basic information about your Blog Website, Including your Blog Site Name and the blog Site Tagline.
If you are in a hurry you can put any kind of information here…
Don’t stress too much, because you can always change all of the information later.
Step 3: Select Your Domain name:
If you have multiple domains on your website that mean more than one domain then you can select from here. Or if you just have one domain that you have used purchasing this hosting plan then it will show up here.
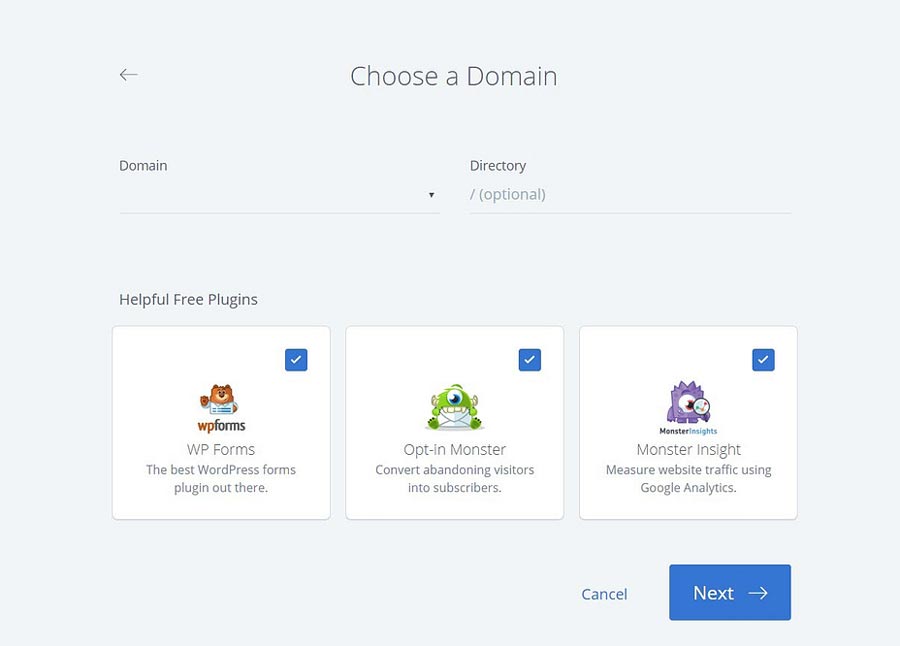
Also, here you can see some helpful plugins from Bluehost and All of them are free. You can choose them from here or you can install it later after installing WordPress.
Step 4: Now it’s time to Start the process.
Simply click on the Next button to install WordPress on Bluehost. It will takes some time provide you a successful notification.
Once it’s done, you will see your New WordPress Dashboard URL / Admin URL, Username and Password. You can change your WordPress dashboard user name and password later. Incase if it’s needed!
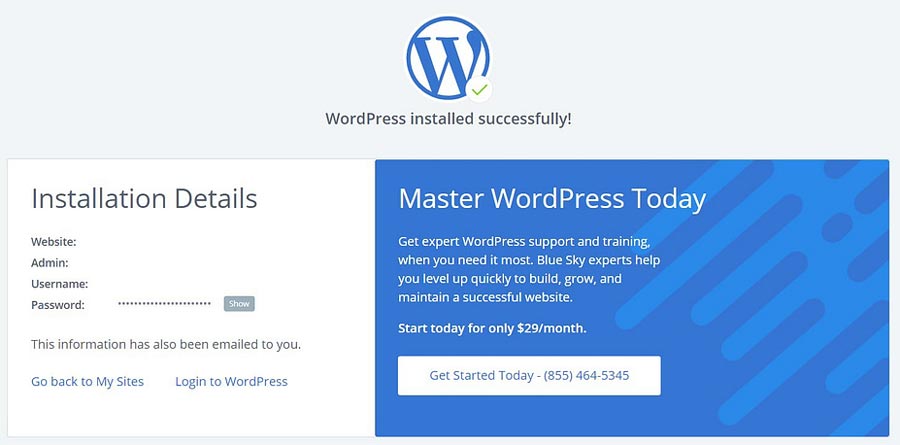
Now, You have successfully install WordPress on your Bluehost hosting. To view your website simply click on the domain name from the Successfully notification page.
Now as you can see it’s completely Blank with a default WordPress theme. Which is not good enough and not a professional website.
No worry I’m here to help you how to install a professional WordPress website on your blog.
Install the best WordPress Blog theme
Well, there are thousands of WordPress blog themes on the WordPress directory. And it’s pretty hard to choose the best one for your blog.
However, from years of my personal experience in this post, I’ll introduce to you the best WordPress blog theme for your new blog.
And this is completely free!
You don’t have to pay for your theme as a beginner. However, if you want you can go with the Astra pro features.
In this section, I’ll show you how to install and activated the Astra free theme on your blog.
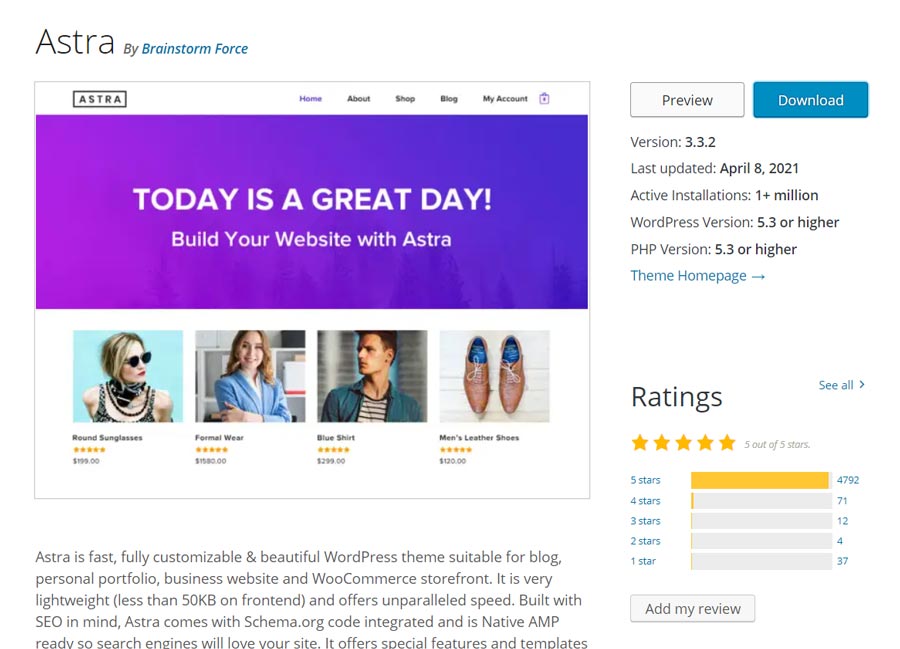
Why Astra theme?
Well, it’s one of the most popular WordPress themes on the WordPress directory! Currently, it has more than 1Milllion Active install on the web. So, you don’t have to worry about their quality and security.
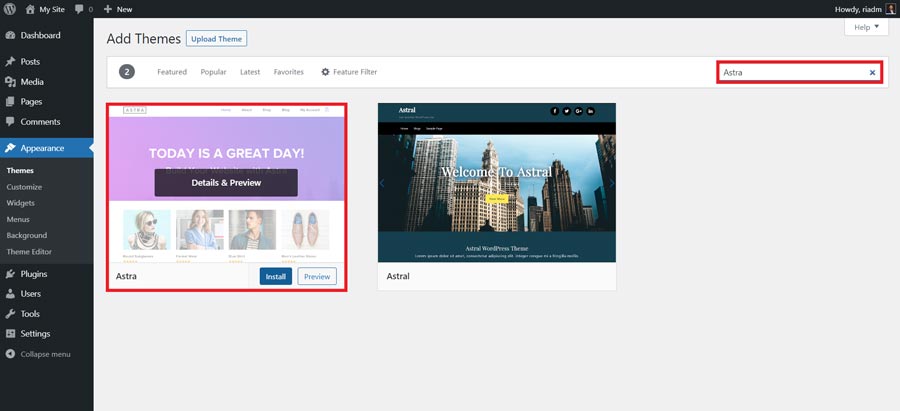
Now simply login into your WordPress Dashboard then navigate to the Appearance > Themes > Add New then in the theme search field type Astra after that Click on Install. It will take just few second to install the Astra theme on your WordPress dashboard.
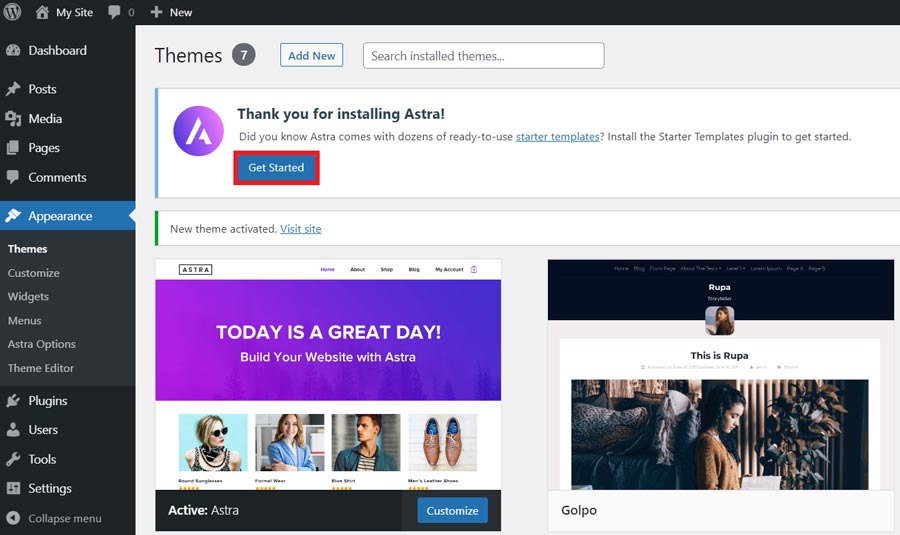
If you followed the above steps then you have successfully install the Astra theme. Now it’s time to install the Starter Template or demo site on your website.
Start Astra Starter Template
To install the Starter Template simply click on Get Started
Then choose your desire page builder. If you are completely new to WordPress then I’d suggest you to go with the Elementor Page builder. It has a free version and paid version.
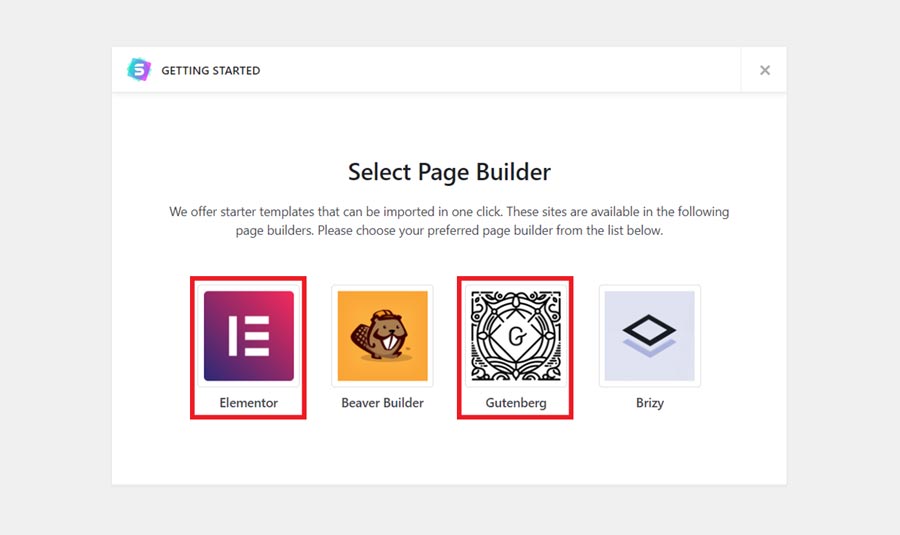
Luckily Astra comes with the most popular drag and drops page builder. Here you can choose Gutenberg Page builder which comes with a lot of useful features and the most important thing is Gutenberg is a default WordPress Editor.
Here I’m selecting Elementor page builder which is beginner friendly.
Now as you can see there is a lot of free starter template which come with the Astra free theme. And you can use them instantly on your website. Here I have chosen Child Care Blog Starter Template.
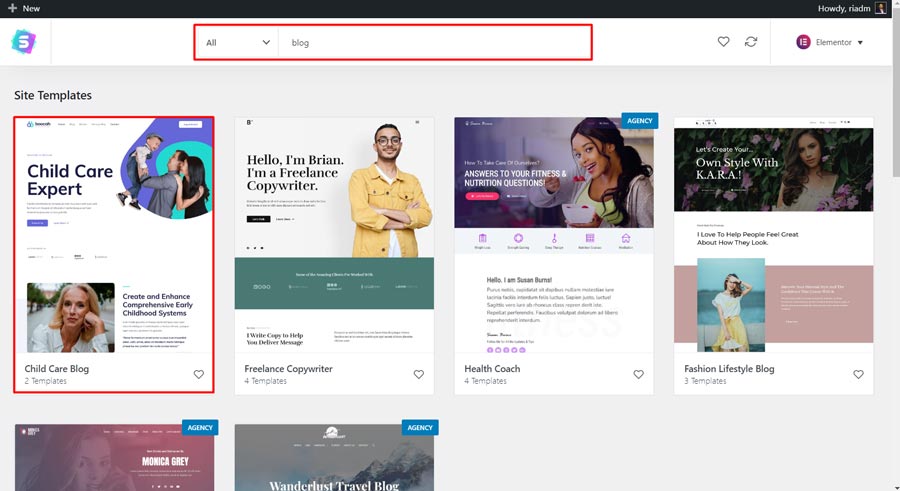
Now you have to simply click on your selected blog template from here and then click on Import Complete Site.
It will just take less than few seconds to install the complete starter template on your blog.
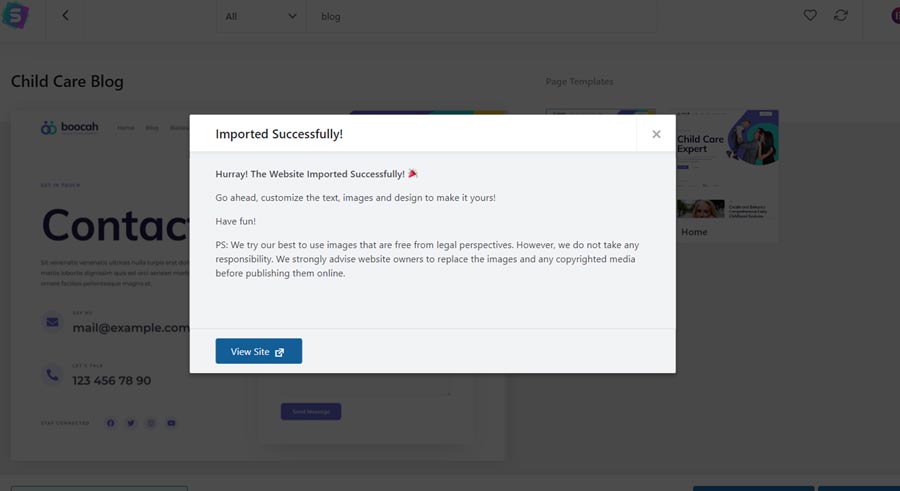
Congratulations
Successfully I have installed the Child Care Blog here. You can choose any kind of blog template from here. For more awesome starter blog templates you can simply navigate to the Astra Starter template page.
To view your website click on View site
Here how it looks from my end…
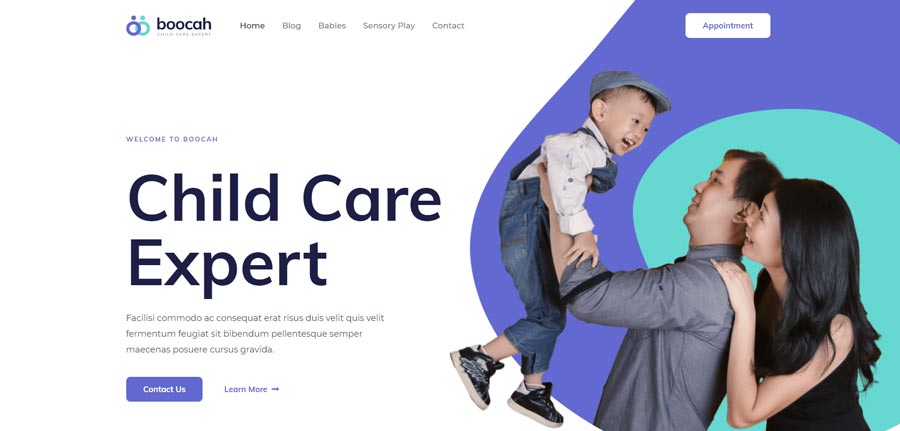
Now, finally you have successfully start your WordPress blog on Bluehost. In this step you have to customize your blog site based on our own content.
Final Thoughts
This is just a beginning of your blogging journey there is more to do in the next few days. So, I’ll keep updated this post and include more useful tips and tricks on this post on a regular basis.
So that you can get a complete idea and improve your blogging journey day by day.